Brandy and Faith wish you all a very happy winter! We’ll be back next month with our Valentine’s Day event!
Faith and I would like to send out a HUGE thank you to everyone who participated in our Christmas event. There were so many delicious recipes. Faith and I had a hard time picking the winner….you are all so talented!
Faith and I also want to wish you and your family a very Merry Christmas!!!
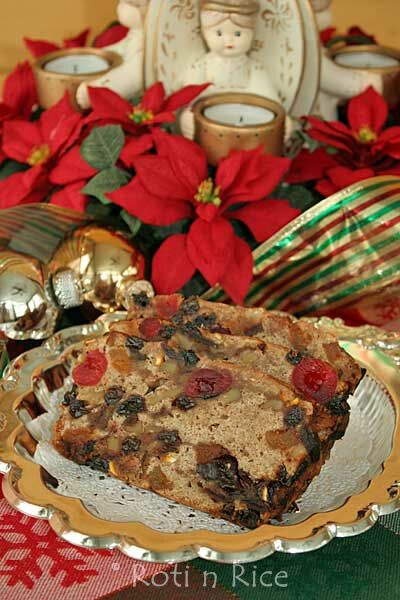
Rich Fruit Cake from Roti n Rice
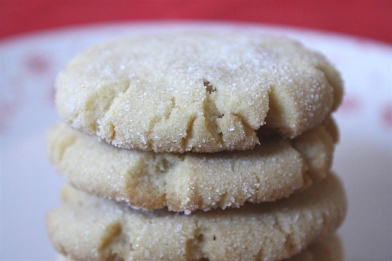
Brown Butter Hazelnut Sugar Cookies from Nutmeg Nanny
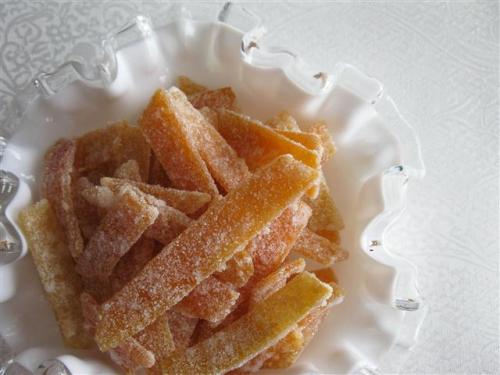
Candied Grapefruit Peel from An Edible Mosaic
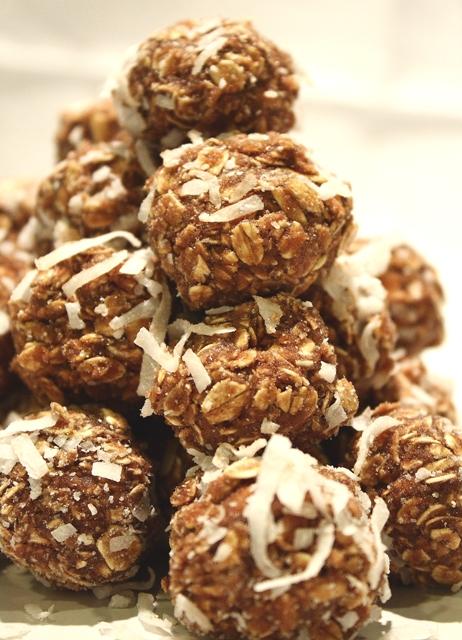
Swedish Chocolate Balls from Delishhh
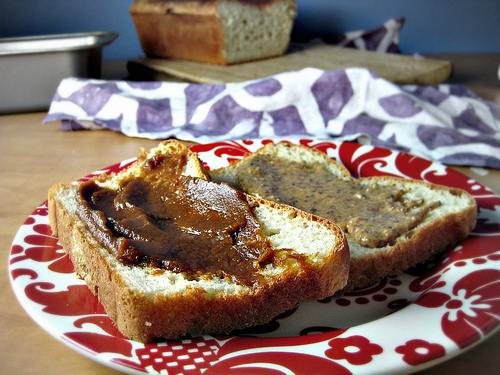
Pumpkin Pomegranate Butter from Eats Well With Others
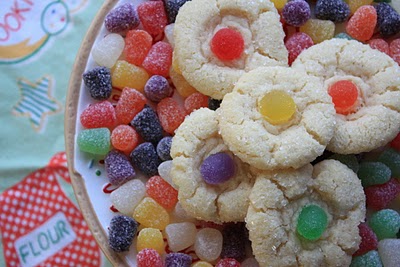
Peanut Butter Blossoms from Saffron & Semper Fi
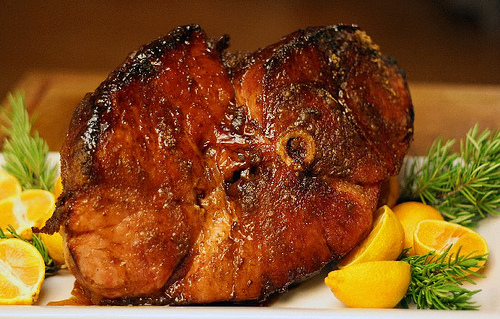
Honey and Brown Sugar Crusted Ham from Megan’s Cookin’
Gingerbread Biscotti from Megan’s Cookin’
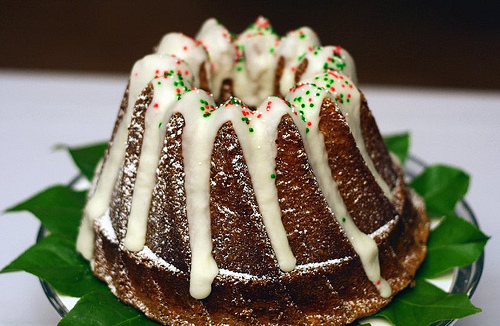
Spiced Eggnog Pound Cake from Megan’s Cookin’
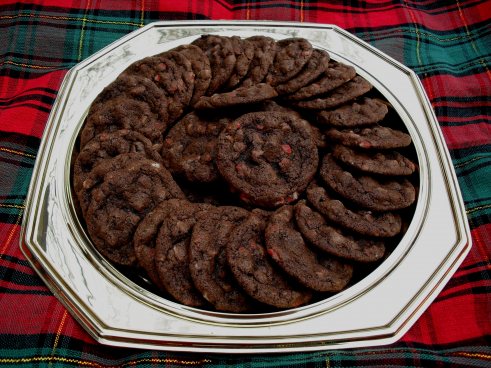
Chocolate Peppermint Chip Cookies from Recipe Rhapsody
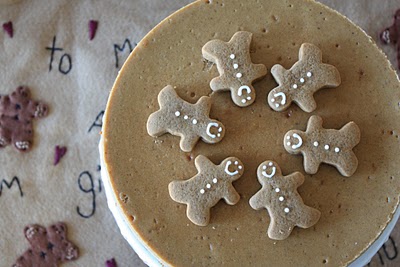
Gingerbread Cheesecake from Munchkin Munchies
Sugar Crispies from Munchkin Munchies
Christmas Sugar Cookies from Munchkin Munchies
Gingerbread Truffles from Munchkin Munchies
Peppermint Pinwheel Cookies from Munchkin Munchies
Finally onto our winner! Peppermint Lollipop Cupcakes from Munchkin Munchies! Faith and I found these so festive and adorable for the holiday season. Please email us your address and we will get your prize out to you asap 🙂
Posted in Christmas | 5 Comments »
Hi everyone! Brandy here from Nutmeg Nanny. Faith and I hope you are all enjoying this lovely holiday season. We are also super excited because it’s time to submit your Christmas recipes!!!
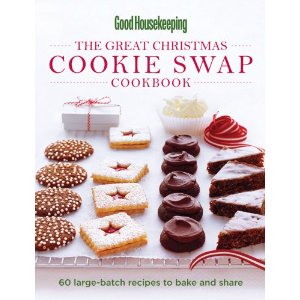
As a reminder this recipe can be anything that says Christmas to you. Also please feel free to submit as many recipes as you want. All we ask in return is that you link any post you submit back to All Through the Year Cheer. You can submit your recipe by linking via the MckLinky (located at the bottom of the post) or by emailing us if that is easier. You have until Wednesday December 22nd 2010 at 9pm EST to submit your recipes. The recipe roundup and winner will be announced on December 23rd. The prize for our Christmas winner will be the The Great Christmas Cookie Swap Cookbook. Imagine all the delicious cookies you can make from that book…yum!
Now onto this delicious and VERY simple Christmas candy. I have been making this little treat for years and is always a big hit on my cookie platter. I usually use normal chocolate Hershey Kisses or Hugs but this year I tried using their special addition Candy Cane Kisses. Amazing! I love it. It’s a delicious bite of mint, chocolate, and salty crunchy pretzel. If you are looking for a little something to squeeze on your tray you should definitely give these buttons a try.
Candy Cane Pretzel Buttons:
1 bag square shaped pretzels
2 bags Hershey’s Candy Cane Kisses – unwrapped (you can also use chocolate or hugs)
1 bag seasonal plain chocolate M&M’s
Preheat oven to 170 degrees.
Lay pretzels out onto baking sheet and top with unwrapped Hershey Kiss. Put into oven for approximately 5 – 7 minutes. You want to soften the Kiss so the M&M will push smoothly into it but you do not want to melt the Kiss.
After the Kiss is soft remove from the oven and press the M&M into the kiss. Let cool and enjoy!!! (Who am I kidding….they are delicious warm 🙂 )
ENTER CHRISTMAS RECIPES HERE!!!!
Click here to enter your link and view this Linky Tools list…
Posted in Christmas | 4 Comments »
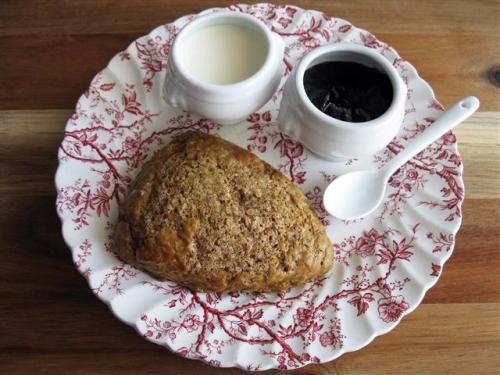 Hi everyone, it’s Faith from An Edible Mosaic! Brandy and I hope you are all enjoying the lovely holiday season so far! Have you noticed how many holiday-inspired tea flavors are on the market now? You can find tea flavored as like from eggnog to gingerbread to candy cane, and some of them even have catchy names like “Christmas Eve” or “Winter Night”. No matter whether you enjoy festive flavored teas or prefer a more traditional Earl Grey, scones are a wonderful accompaniment.
I wanted to make a seasonal scone and I thought gingerbread was the perfect choice. These scones are full of warm spices and as they bake their lovely fragrance fills the house. And on a chilly afternoon, I can’t think of anything better than a cup of tea and a house full of the warm scent of gingerbread. Gingerbread Scones
(Yield: 8 scones)
Dry Ingredients:
2 1/4 c all-purpose flour
1 TB baking powder
1 tsp baking soda
1/2 tsp salt
1 tsp dried ginger
1/2 tsp cinnamon
1/4 tsp cloves
1/4 tsp nutmeg
1 pod cardamom, seeds crushed and pod discarded
1/3 c brown sugar, lightly packed
Wet Ingredients:
6 TB (3/4 stick) unsalted butter, chilled and cut into small pieces
2 TB trans fat-free vegetable shortening (such as Crisco)
2 large eggs
1/2 c milk
2 TB molasses
Other Ingredients:
1 egg beaten with 1 TB water (for eggwash)
1 slightly heaping TB sugar in the raw
In a large bowl, whisk together all dry ingredients. Use a fork to cut butter and shortening into dry ingredients until you have a crumby texture, with some pieces of dough the size of peas. In a separate bowl, whisk together eggs, milk, and molasses. Use a wooden spoon to gradually stir wet ingredients into butter/flour mixture (the dough will be very sticky and you should still see some flecks of butter). Transfer dough to a piece of plastic wrap or parchment paper, then spread out to a disk shape and wrap it up. Put it in a round shallow bowl (since dough will spread) and refrigerate overnight.
Preheat oven to 400F and line a baking sheet with parchment paper. Take dough out of the fridge, unwrap it, and turn it out onto a heavily floured surface. Generously sprinkle four on top of dough; roll dough (or spread with your hands) out to a circle about 7 inches in diameter, about 3/4 to 1-inch thick. Use a sharp knife dusted with flour to cut it into 8 wedges (or use a small ring to cut out circles, gather the dough scraps together, reroll, and cut out more circles as necessary).
Put scones on prepared baking sheet about 3-4 inches apart (they spread a lot), brush on eggwash (you will have extra), and sprinkle on sugar in the raw. Bake about 15 minutes, or until scones feel firm to the touch. After Cutting the Butter and Shortening into the Flour
Posted in Christmas | 7 Comments »
 Hello, it’s Faith from An Edible Mosaic! Brandy and I are absolutely thrilled that our favorite time of the year is upon us again…and we can’t wait to see some of your favorite recipes for this time of year! I love chocolate and mint together but for some reason I always think of it as a holiday combination, so I don’t really eat it any other time of the year (except in mint chocolate chip ice cream, which is of course delicious year round!).
I usually make chocolate mint brownies at least once during the holiday season, but this year I decided to switch it up a little and make whoopie pies instead. Whoopie pies are essentially cakes in cookie form, so to make mine I just adjusted my mom’s recipe for chocolate cake. I had some Fluff in the pantry, which made a fast and delicious frosting. (Just be warned that the frosting was quite sweet…if you prefer a less sweet frosting and you have the time to make a homemade mint flavored Swiss meringue buttercream, I think that would also be fantastic.) I brought these to a holiday gathering and they were a huge hit with kids and adults alike. They’re sure to satisfy your holiday sweet tooth! Chocolate Whoopie Pies with Fluffy Mint Frosting
(Yield: 13-14 whoopie pies)
Chocolate Whoopie Pies:
2 c all-purpose flour
1 c sugar
1 1/2 tsp baking soda
1/2 tsp salt
1/2 c cocoa powder
1 tsp pure vanilla extract
1 tsp distilled white vinegar
1/2 c canola oil
1/2 c plus 2 TB cold water
Fluffy Mint Frosting:
6 TB unsalted butter, at room temperature
Pinch salt
1/2 to 1 tsp pure peppermint extract (depending on how strong you like it)
A few drops of green food coloring
6 oz powdered (confectioner’s) sugar (about 1 1/2 c)
1 1/2 c Marshmallow Fluff
Preheat oven to 350F; line 2 baking sheets with parchment paper or silpat liners. In a large bowl, whisk together flour, sugar, baking soda, salt, and cocoa powder. Make 3 wells in the mixture and to each separate well add the vanilla, vinegar, and oil. Use a wooden spoon to stir together, then stir in the water. (Batter will be thick and sticky.) Drop slightly heaping tablespoonfuls of batter (this is easiest to do using a 1 1/2 TB ice cream scoop) onto prepared baking sheets, leaving about 2 inches between each cookie. Bake 10-12 minutes (exactly 11 minutes was spot-on for my oven), rotating pans once about halfway through. Let cookies cool slightly on the trays, then use a spatula to gently transfer them to a cooling rack to finish cooling completely.
In a large bowl, use an electric mixer to beat butter until light and creamy; mix in salt, peppermint extract, and a few drops green food coloring (to reach your desired shade of green). Gradually beat in powdered sugar, then beat in fluff.
To make whoopie pies, once cookies are cool, pipe or spoon some frosting onto the bottom of half the cookies, then top with the remaining cookies to form sandwiches.
Posted in Christmas | 8 Comments »
Hello, it’s Brandy from Nutmeg Nanny. Faith and I are super excited for our Christmas event! We have been talking about Christmas since August…no lie! We love all sweet and savory holiday inspired treats and cannot wait to see what everyone submits. Here is the posting schedule:
12/1: Brandy Announces Christmas Event & Posts Recipe
12/5: Faith Posts Recipe
12/12: Faith Posts Recipe
12/19: Brandy Posts Recipe & Announces MckLinky Opening & Recipe Submissions
12/22: MckLinky Closes & Recipes Due by 9PM EST
12/23: Brandy Posts Round-Up & Announces Winner
Faith and I will be posting more seasonal recipes on our own blogs to give you more inspiration. As always, you don’t need to have a blog to participate. Remember, your recipe can be for anything that says Christmas to you, and you can submit as many recipes as you want. (For more information on how to participate, see our Rules.)
There is of course a prize for the winner! The prize this time around is the The Great Christmas Cookie Swap Cookbook.
Now onto the recipe! This is not exactly a sweet or a savory treat. It’s a liquor treat! On my personal blog I’m running an event called “The Twelve Boozy Days of Christmas” and I’m sharing that post on here today.
This Candy Cane Martini is delicious and super festive! Not only does it taste great but it looks great too! Obviously it’s heavy on the mint flavor and packs a nice little punch by incorporating only two ingredients – vodka and peppermint schnapps. So with an ingredient list so short and so full of alcohol I wouldn’t recommend drinking too many ![]()
Candy Cane Martini:
1 1/2 oz. Vodka
1 teaspoon peppermint schnapps
Mix all ingredients with ice in a shaker. Strain into a chilled cocktail glass.
Option: Garnish with small candy cane or create a candy cane “rimmer” with crushed candy canes.
Source: That’s the Spirit!
Posted in Christmas | 2 Comments »
Brandy and I want to give a huge thank-you to everyone who participated in our Thanksgiving event! You all made some incredibly beautiful and festive dishes, which in turn made choosing a winner especially hard.
Brandy and I want to wish all of you and yours a very safe and happy Thanksgiving!
Eggnog Pumpkin Bread by Recipe Rhapsody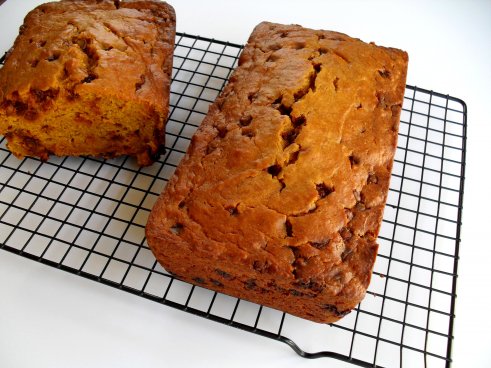 Hot Sausage-Stuffed Acorn Squash by Food is My Love Language
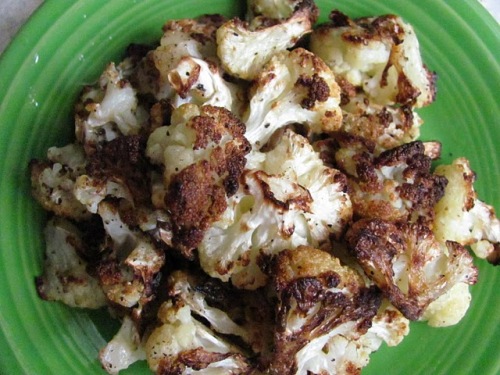
 Roasted Cauliflower by Louanne’s Kitchen
 Loaded Cauliflower Casserole by Louanne’s Kitchen
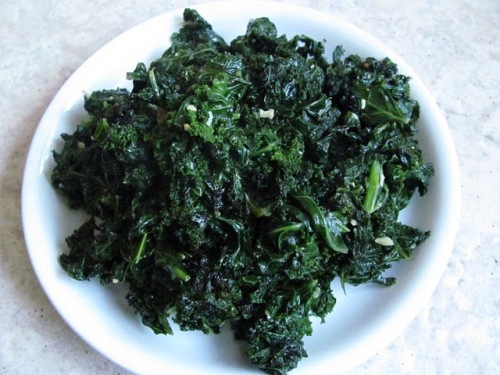
 Sautéed Kale with Garlic by Louanne’s Kitchen
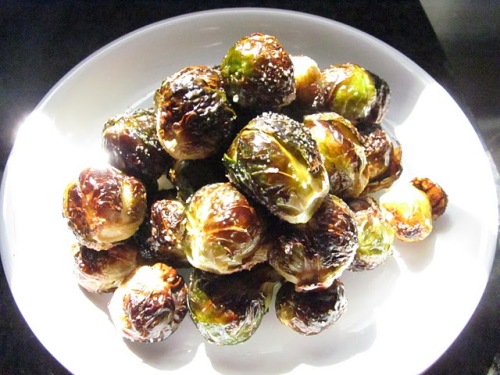
 Roasted Brussels Sprouts by Louanne’s Kitchen
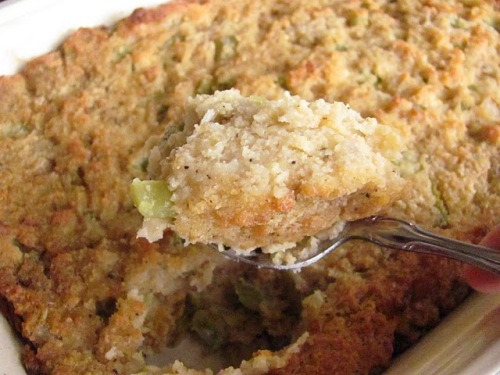
 Cornbread Dressing by Louanne’s Kitchen
 Nutty Pumpkin Bundt Cake with Cranberries by Louanne’s Kitchen
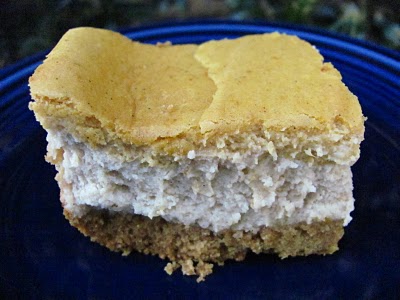
 Pumpkin Cheesecake Bars by Louanne’s Kitchen
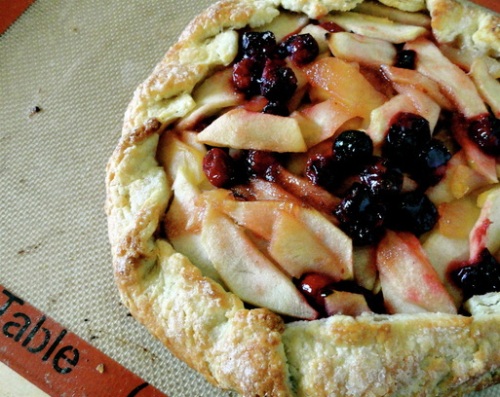
 Apple and Cranberry Galette by Anecdotes and Apple Cores
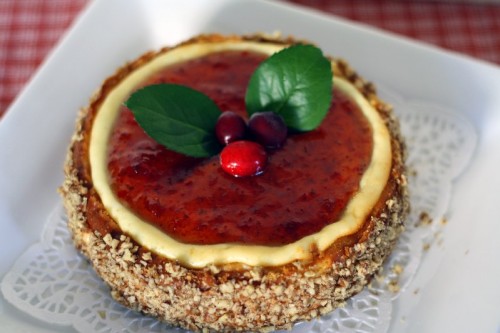
 Holiday Cheesecake Appetizer by Megan’s Cookin’
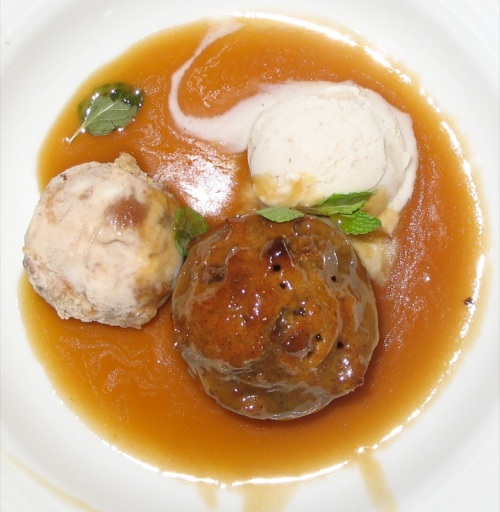
 Sticky Date Pudding with Toffee Sauce Recipe by A Canadian Foodie
 White Chocolate Cranberry Coffee Cake by Amanda’s Cookin’
  Vanilla Maple Butternut Muffins by Amanda’s Cookin’
 Pull Apart Cornmeal Dinner Rolls by Amanda’s Cookin’
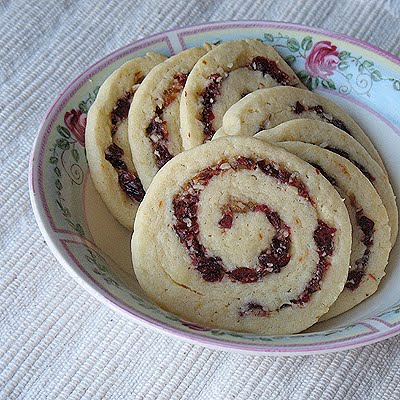
 Cranberry Orange Spiral Cookies by Amanda’s Cookin’
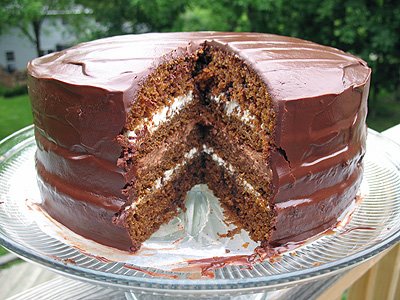
 Amanda’s 4 Layer Chocolate Dappled Pumpkin Cake by Amanda’s Cookin’
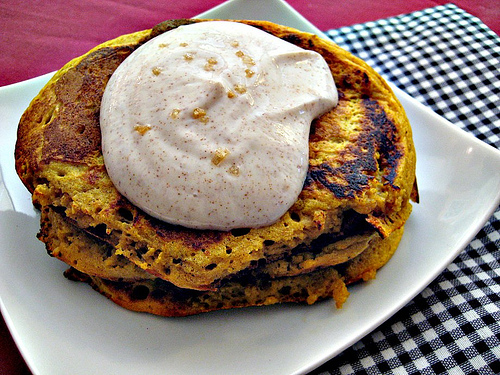
 Spiced Pumpkin Pancakes Topped with Cinnamon-Maple Greek Yogurt and a Hint of Ginger Salt by Eats Well With Others
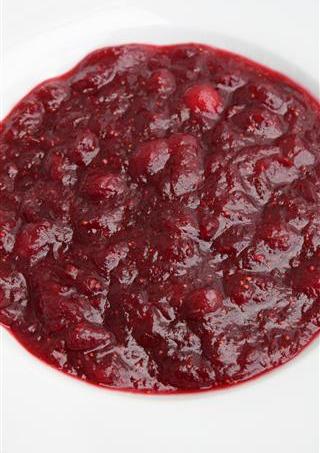
 Ginger-Laced Cranberry Orange Sauce by Nutmeg Nanny
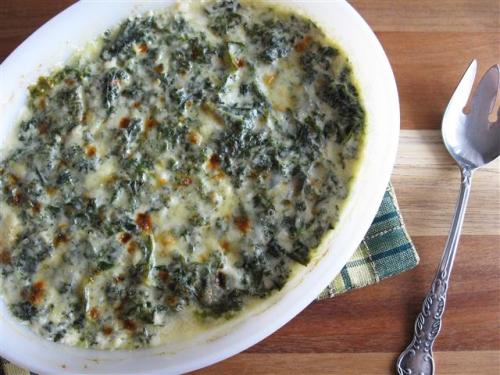
 Kale Gratin by An Edible Mosaic
 And last but not least, our winner, Pear Pie with Crumb Topping and GF Hazelnut Crust by Roti n Rice!
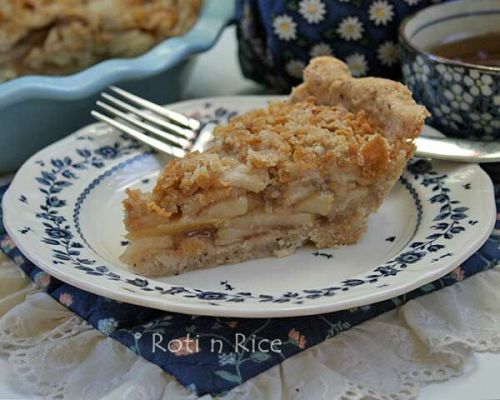
Brandy and I loved everything about this pie – the lovely pear filling, crumb topping, and hazelnut crust. And what says Thanksgiving more than a gorgeous pie like this? Congratulations Biren, your prize is a one year subscription to Bon Appétit magazine! Please email Brandy and I your address and we’ll have your prize sent out!
We’ll see you all for our Christmas event…until then, Happy Thanksgiving!
Posted in Thanksgiving | 4 Comments »
Hi everyone, it’s Faith from An Edible Mosaic! Brandy and I are happy to announce that it’s time to submit your Thanksgiving recipes! Your recipes can be for anything that say Thanksgiving to you, and you can submit as many recipes as you want. If you have a blog, please be sure to include a link to All Through the Year Cheer in the post for the recipe you’re submitting. You can submit your recipes by linking to the Linky Tools List at the bottom of this post, or by emailing us if you prefer. The deadline to submit your recipes is Tuesday, November 23rd at 9PM EST. The recipe roundup and winner will be announced on November 24th, and the winner gets a one-year subscription to Bon Appétit Magazine!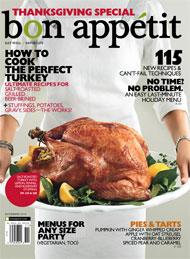
 The last Thanksgiving recipe I’m offering you is Apple-Cranberry Chutney. Here’s my little secret: I make it with canned whole-berry cranberry sauce. I know it’s really easy to make cranberry sauce from scratch and doing so allows you to control how much sugar goes into it, but the fact of the matter is that sometimes you just have to use canned. Here’s why I had to use canned a couple years ago…two years ago on the day before Thanksgiving, my mom and I were starting to prepare our family’s feast. We were brining the turkey, roasting squashes, baking pies, and kneading breads. In all our preparatory hustle and bustle we realized that we had both overlooked the cranberries. No problem, I thought, as I headed off to the store to buy some. I got there and they were sold out of both fresh and frozen cranberries. Same thing at the next store. I wasn’t about to go to the next town looking (especially since more likely than not, they were also sold out), so I grabbed a couple of cans of whole-berry cranberry sauce and this is how we ended up preparing them. We still use this recipe, not just for the sake of nostalgia, but also because it’s really fantastic.
If you prefer a from-scratch cranberry sauce, don’t worry, we have you covered there too! Feel free to check out Brandy’s recipe for Ginger-Laced Cranberry Orange Sauce, or my recipe for Warm-Spiced Cranberry Jam. 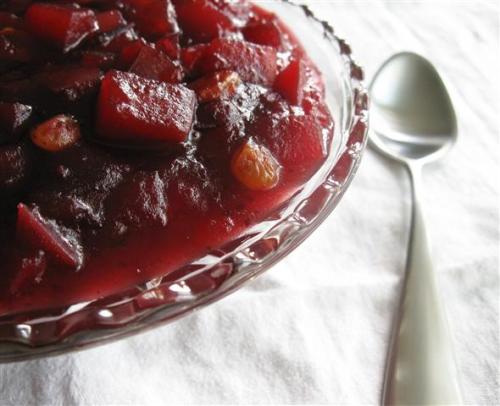 Easy Apple-Cranberry Chutney
(Yield: About 2 3/4 c chutney)
1 very large or 2 medium sweet-tart apples
1/4 c golden raisins (sultanas)
1 c cranberry juice
1/4 tsp ground cinnamon
Pinch freshly grated nutmeg
1 (14 oz) can whole berry cranberry sauce
Wash, dry, and dice the apples (I like to leave peel on); you should end up with about 2 c apples. In a medium saucepot over medium-high heat, combine the apples, raisins, cranberry juice, cinnamon, and nutmeg; bring up to a boil (uncovered), then turn heat down slightly and let it boil gently (uncovered) for about 5-7 minutes (the apples should be tender but not mushy and the raisins should be starting to plump up). Add the cranberry sauce and bring the mixture up to a boil; once the mixture is boiling gently, cook 2-3 minutes and turn off heat. The chutney will thicken upon standing.
A Couple of Notes: The chutney thickens significantly if left to sit for a couple hours or overnight. If you need to, you can make it up to five days ahead and keep it refrigerated, or make it up to a month ahead and keep it frozen. It tastes amazing served hot, cold, or room temperature.
Powered by Linky Tools
Click here to enter your link and view this Linky Tools list…
Posted in Thanksgiving | 8 Comments »
Hi everyone! It’s Brandy from Nutmeg Nanny 🙂
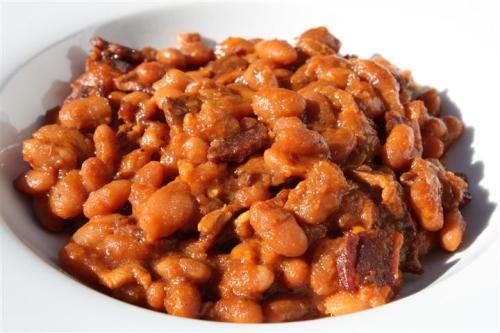
Now I know I usually am one to make sweets but today I wanted to share something a little savory. Growing up baked beans were always found at the holiday table. I was usually found next to the dish picking the bacon off the top, eating the bacon and then running away so my grandmother would not know that it was me that stole it. Somehow she still always knew it was me.
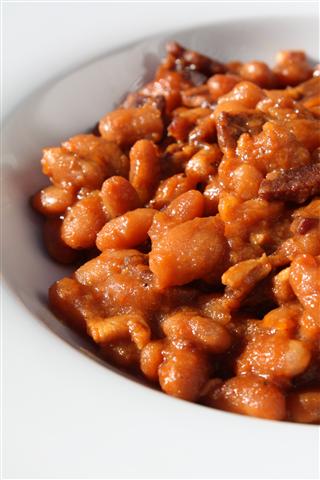
Now truth be told, except for the bacon, I’m not a huge fan of baked beans. Now there is nothing really wrong with them, they are just not my favorite. Especially beans from a can….gross! However, these beans totally changed my mind! They had just a slight hint of sweetness, lot of bacon and tons of delicious baked bean flavor. They do take some time to make, but if you have the time I would recommend it. They would be a fantastic addition to any Thanksgiving table. I used an oven to bake my beans but I think a crock pot would work nicely too. Going this route might be nice because it would free up the oven. Enjoy!!!
Maple Baked Beans:
1 pound dried navy or great northern beans
4 tablespoons brown sugar
4 teaspoons salt
1/2 teaspoon freshly ground black pepper
4 tablespoons spicy brown mustard
4 tablespoons molasses
1/2 cup ketchup
1 cup pure maple syrup
1 lb. thick cut bacon – chopped
1 medium onion – chopped
1. In a large pan, cover the beans with water. Bring to a boil and simmer until tender, about 1 hour.
2. Preheat oven to 300°F.
3. In a large skillet fry bacon until brown and a little crispy. Drain bacon but leave grease in pan.
4. Saute onion in bacon grease until soft and translucent.
5. In a bowl, combine everything and stir in the beans.
6. Place 1 bacon strip at the bottom of a large ovenproof dish or Dutch oven. Pour the bean mixture over it, then push the other strip in.
7. Add just enough boiling water to the pot to cover everything.
8. Cover the pot with aluminum foil, then a lid. Bake for 5 hours, checking hourly to make sure the beans aren’t drying out. (Add more water as necessary to keep them submerged.) Uncover for the last half hour to brown the top, if desired.
Source: Slightly adapted from Epicurious
Posted in Thanksgiving | 3 Comments »
Posted in Thanksgiving | Leave a Comment »

